Option 1: Use the Contact List Web Part available in SharePoint
If you are a small organization, you can simply use an out of the box Web Part called Contacts to manage contact information. The beauty of this approach is that you can customize your Contacts Web Part with any columns/metadata that you wish. That means you can add all sorts of phone numbers, notes, other information and group/organize it in any way you wish on your SharePoint site or page

The second option when it comes to SharePoint Employee Directory is to create custom sites/pages using Content Search Web part. This option works well when you have a larger organization and want to create an Employee Directory that allows you to filter the different properties using left-hand-side metadata criteria. You do need to be an advanced SharePoint User to create this sort of Directory. If you are comfortable with some customization and want to give it a try, here are couple of blog posts (not written by me) you may reference and follow instructions on:
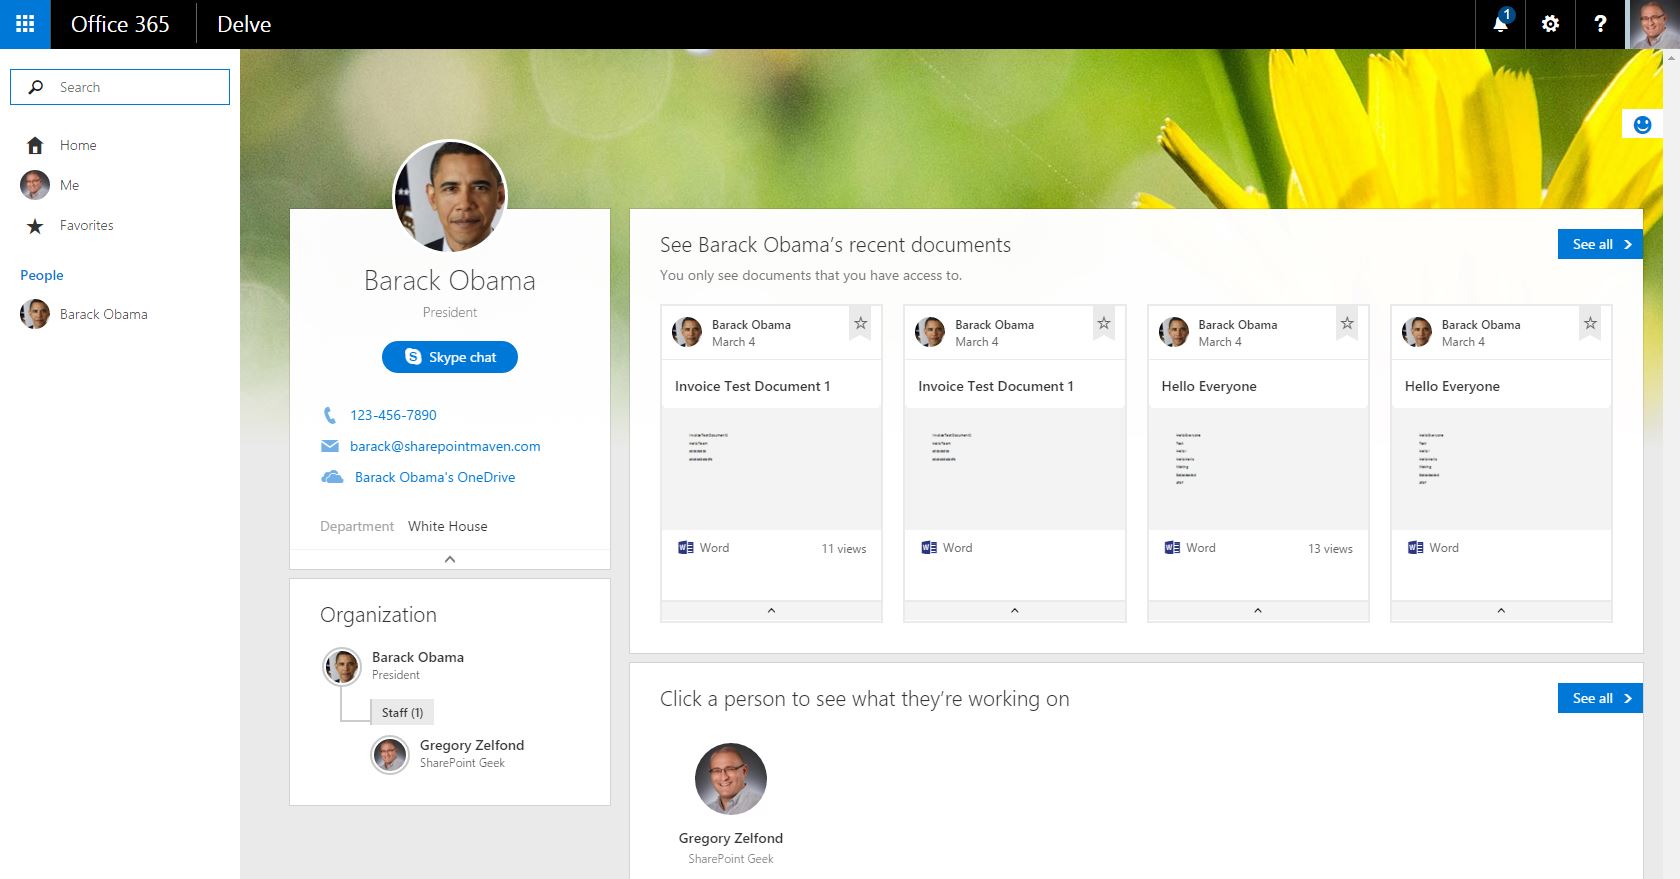
This is my preferred and most favorite option. Yes, you can surely create custom SharePoint Employee Directory pages using methods described in previous section, but why reinvent the wheel? Office 365 has a built in User Profile Page, part of the whole Office 365 Delve experience. You can access that page by clicking on any user name from within your SharePoint Online Sites. Below is an example of what it looks like.
The page displays more than just the contact information for an employee. It also shows employee’s photo, latest activity (recently updated documents). It also includes the Org Chartcomponent, where you can browse through the reporting structure and see other employees’ information. Lastly, you can also use the search window in the upper-left hand corner to search other employees by first and lat name.
The contact information is stored in SharePoint User Profiles and you can also sync this information from Active Directory. You also have full control over whether users can edit their own (contact) information, picture, etc.
Comments
Post a Comment